自前のサーバでGoogleフォトのような写真管理を行うなら、オープンソースの「immich」がおすすめ。動作はサクサクで機能も豊富、容量が許せばいくらでも写真を保存出来ます。
Immichのセットアップ
セットアップも簡単。Docker環境があり、デフォルトの設定のままなら、下記を実行するだけです。
mkdir -p ~/immich
cd ~/immich
# 設定ファイル(.env & docker-compose.yml)のダウンロード
wget https://github.com/immich-app/immich/releases/latest/download/docker-compose.yml
wget -O .env https://github.com/immich-app/immich/releases/latest/download/example.env
# コンテナの起動
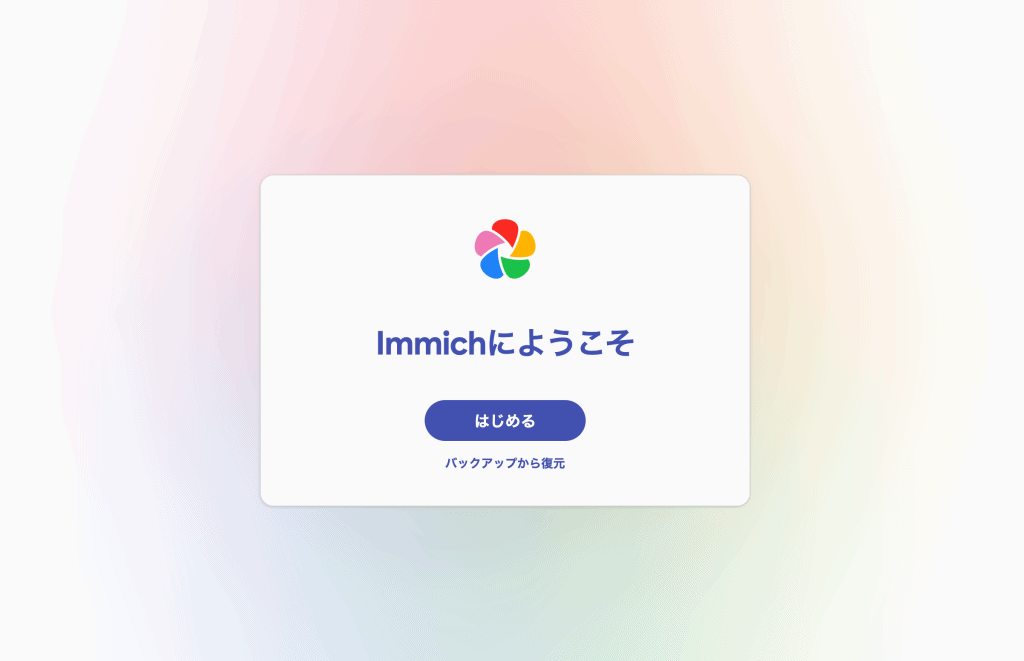
sudo docker compose up -dあとは、ブラウザで http://<サーバーのIPアドレス>:2283 にアクセスします。
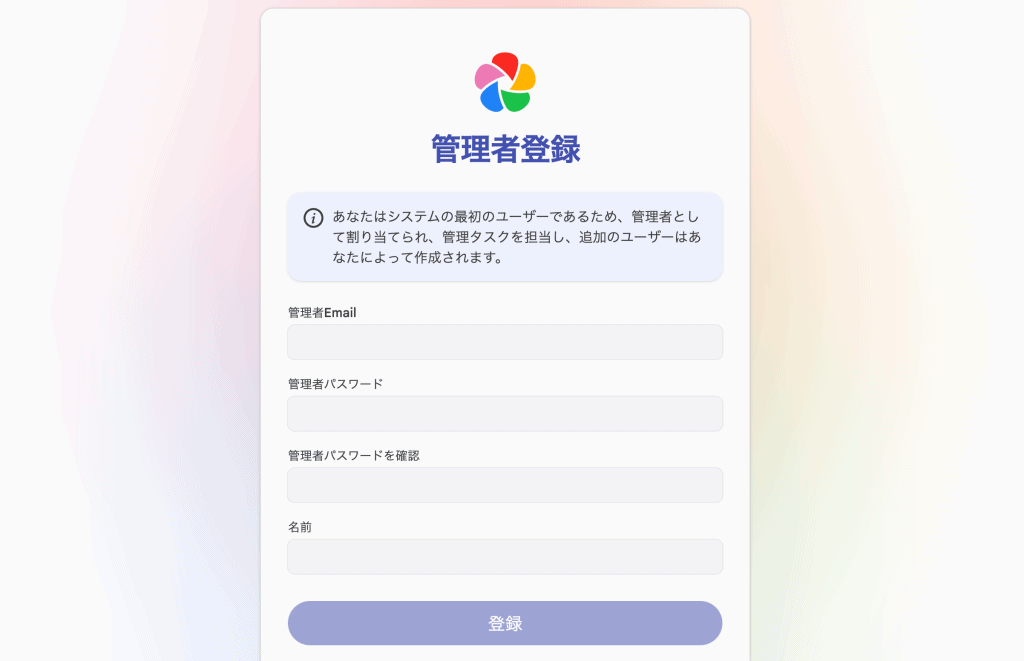
まずは管理者アカウントを作成します。この時のメールアドレスがログインIDに。
テンプレートも自由に変更出来ます。個人的には過去に日付で分けていたのでそれと同じになるように。アルバムに分類した時もフォルダ名に追加されるのが便利すぎです。
{{y}}/{{y}}{{MM}}/{{y}}{{MM}}{{dd}}_{{album}}/{{filename}}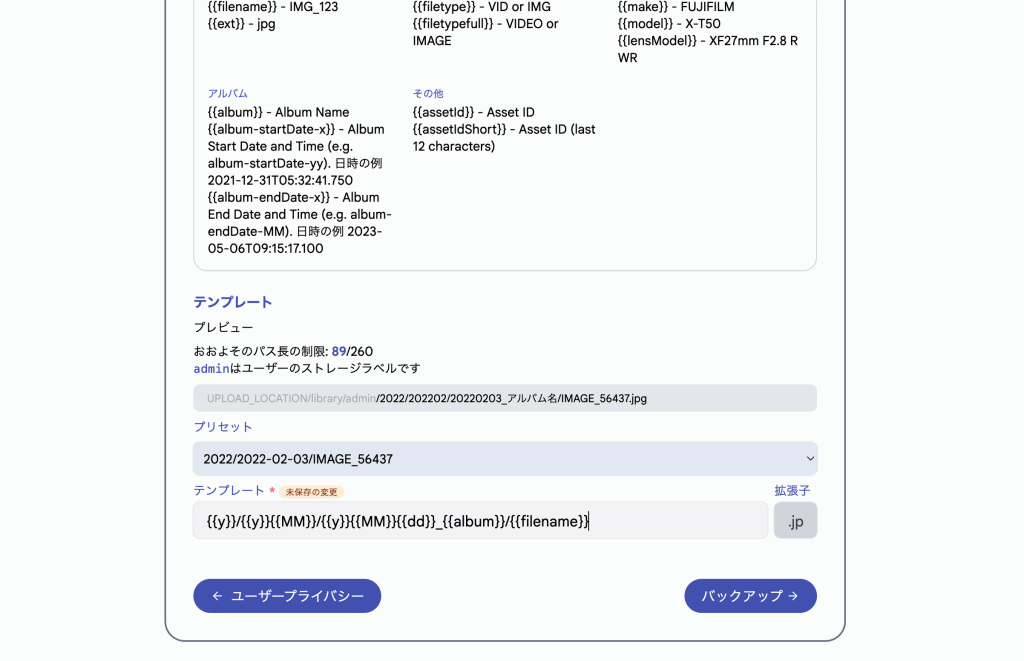
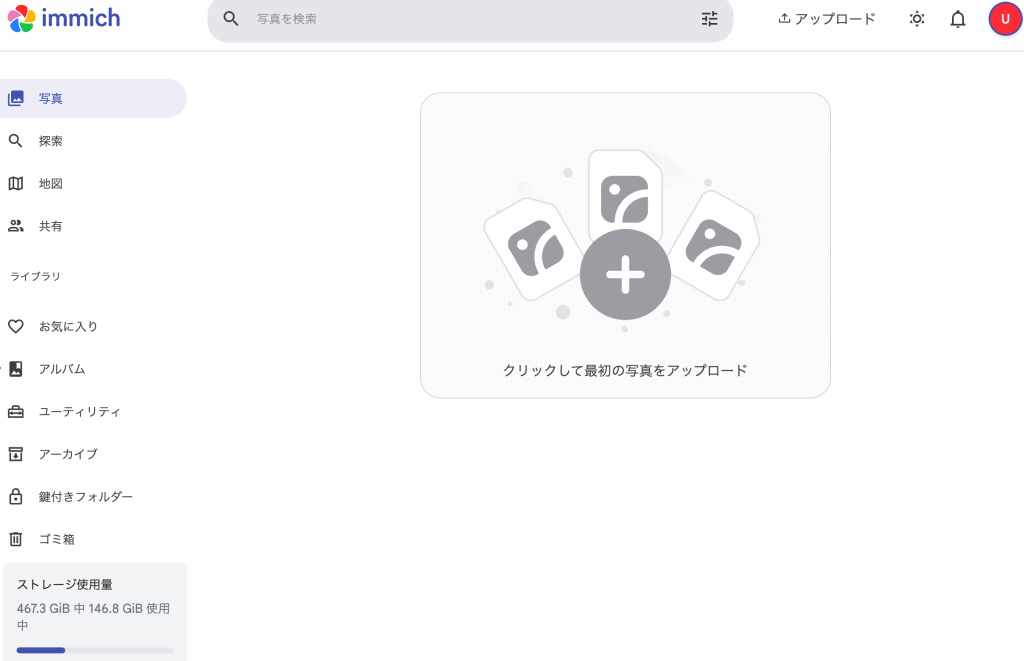
メイン画面はGoogleフォトのようなスタイルなので操作に迷うことはないはず。
Immichの画像フォルダにLAN内からアクセス
集めた写真をローカルで編集したい時は、LAN内の別のパソコンから直接見られると便利です。Sambaで行う場合の例を。
まず設定ファイルを開きます。
sudo nano /etc/samba/smb.conf画像の保存先がデフォルトのままの場合は、末尾に以下を追記します。read only = yes にすることで、別のパソコン側からの誤削除を防ぎ、Immichのデータベース破壊を防止します。
[immich]
   path = /home/user/immich/library
   read only = yes
   guest ok = no
   valid users = user
入力が済んだらSambaを再起動します。
sudo systemctl restart smbdあとは、別のパソコンからアクセスします。Windowsなら「¥¥IPアドレス」、MacならFinderを開きメニューバーの「移動」-「サーバへ接続…」から「smb://IPアドレス」でアクセスします。必要な写真をローカルにコピーして編集しましょう。
デフォルトの設定ファイル内容
docker-compose.yml
name: immich

services:
  immich-server:
    container_name: immich_server
    image: ghcr.io/immich-app/immich-server:${IMMICH_VERSION:-release}
    # extends:
    #   file: hwaccel.transcoding.yml
    #   service: cpu # set to one of [nvenc, quicksync, rkmpp, vaapi, vaapi-wsl] for accelerated transcoding
    volumes:
      # Do not edit the next line. If you want to change the media storage location on your system, edit the value of UPLOAD_LOCATION in the .env>
      - ${UPLOAD_LOCATION}:/data
      - /etc/localtime:/etc/localtime:ro
    env_file:
      - .env
    ports:
      - '2283:2283'
    depends_on:
      - redis
      - database
    restart: always
    healthcheck:
      disable: false
.env
# You can find documentation for all the supported env variables at https://docs.immich.app/install/environment-variables

# The location where your uploaded files are stored
UPLOAD_LOCATION=./library

# The location where your database files are stored. Network shares are not supported for the database
DB_DATA_LOCATION=./postgres

# To set a timezone, uncomment the next line and change Etc/UTC to a TZ identifier from this list: https://en.wikipedia.org/wiki/List_of_tz_datab>
# TZ=Etc/UTC

# The Immich version to use. You can pin this to a specific version like "v2.1.0"
IMMICH_VERSION=v2

# Connection secret for postgres. You should change it to a random password
# Please use only the characters `A-Za-z0-9`, without special characters or spaces
DB_PASSWORD=postgres

# The values below this line do not need to be changed
###################################################################################
DB_USERNAME=postgres
DB_DATABASE_NAME=immich
Immichのアップデート方法
# Immichのフォルダに移動
cd /opt/docker/immich

# イメージを取得
docker compose pull

# コンテナを起動
docker compose up -d

# (任意) 古いイメージを削除してディスク節約
docker image prune